
Today, I was working on a new challenge. Setting up TeamCity with official JetBrains docker images.
Some background.
TeamCity is a perfect tool if you need Continuous Integration solution. One day I hope I will write an article explaining why TeamCity is so great. Today I will concentrate on the technical steps only.
Official documentation is can be found here:
- https://hub.docker.com/r/jetbrains/teamcity-server/
- https://hub.docker.com/r/jetbrains/teamcity-agent/
It was missing explanation how to set up PostgreSQL, so I will cover it here.
Step 1: Download docker images
First of all, you need to fetch JetBrains docker images and image for PostgreSQL. Run the following commands in the shell:
docker pull jetbrains/teamcity-server

docker pull jetbrains/teamcity-agent

docker pull postgres
Step 2: Setup PostgreSQL database
You need to start PostgreSQL service and then create an empty database used for TeamCity.
docker run --name postgres1 -e POSTGRES_PASSWORD=YOURPWD -d postgres
shell#: psql -U postgres -h postgres1_ip

Password for user postgres:

psql (9.5.7, server 9.6.3)

WARNING: psql major version 9.5, server major version 9.6.

Some psql features might not work.

Type "help" for help.

postgres=# CREATE ROLE teamcityuser with password 'NEWPWD' login;

CREATE ROLE

postgres=# create database teamcitydb with owner teamcityuser;

CREATE DATABASE

postgres=# grant all on database teamcitydb to teamcityuser;

GRANT

postgres=# \q
You need to change postgres1_ip with the real IP address used by docker. Check out this article how to determined what IP address of it.
Step 3: Check that db is ok
Make sure that you can continue to the new database. You can run the following command:
psql -U teamcityuser -h postgres1_ip teamcitydb
Step 4: Create dirs used to TeamCity
In my case I used the following commands:
mkdir /opt/teamcity-server1/{data,logs}

mkdir /opt/teamcity-agent1

mkdir /opt/teamcity-agent2

mkdir /opt/teamcity-agent3
Step 5: Start TeamCity docker image
docker run -d --name teamcity-server1 \

-v /opt/teamcity-server1/data:/data/teamcity_server/datadir \

-v /opt/teamcity-server1/logs:/opt/teamcity/logs \

-p 8111:8111 \

jetbrains/teamcity-server
Step 6: Open your browser
Open your browser to continue installation from that point. You need to connect to port 8111 on your server – a default port used by TeamCity.
http://your-server-ip:8111
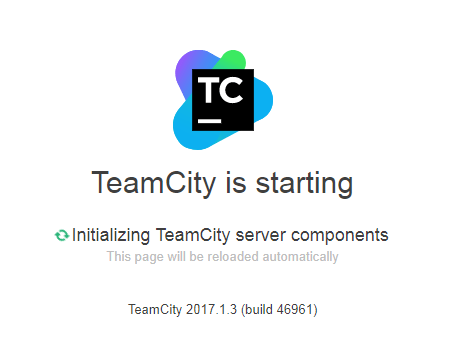
In my case I got the following screen:
Step 7: Install Java PostgreSQL library
TeamCity comes with no JDBC driver library to connect to PostgreSQL. You need to install it. During TeamCity installation, if you chose PostgreSQL you will get the following message:
The PostgreSQL JDBC driver is not found in the /data/teamcity_server/datadir/lib/jdbc directory. Download the JDBC42 driver from jdbc.postgresql.org and place it to this directory.
As of the time of writing the latest version is 42.1.3. So I use the following command to fetch the library and copy it inside the running Docker container:
wget https://jdbc.postgresql.org/download/postgresql-42.1.3.jar

docker cp postgresql-42.1.3.jar teamcity-server1:/data/teamcity_server/datadir/lib/jdbc
Step 8: Configure PostrgreSQL connection settings
During the setup, you will need to select PostgreSQL (as 1 below):
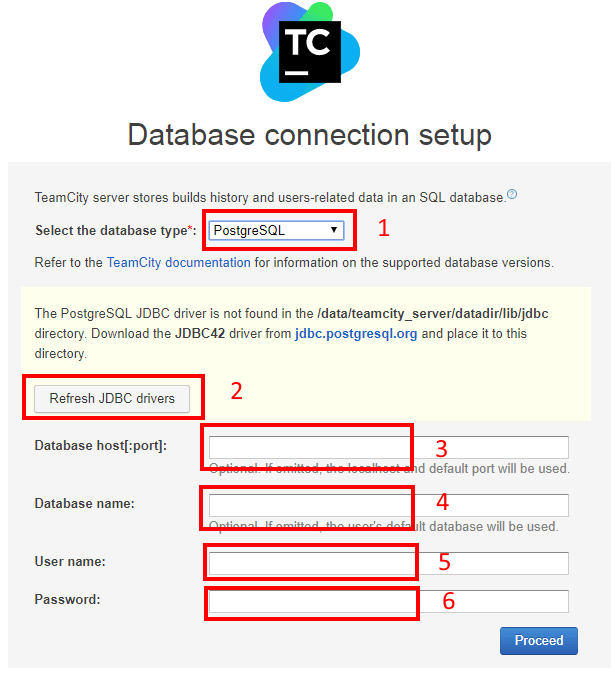
2 You might need to click on Refresh, to load PostgreSQL JDBC driver. As for 3, you need to enter IP address of the PostgreSQL docker container as above.
After that, the installation will ask you to confirm the application license and you are done.
Step 9: Start TeamCity agent
TeamCity used agents to do actual code building and tests and deployment. I am running TeamCity agents as docker containers too. To start the agent you can use the following command:
docker run -d --name teamcity-agent1 \

-e SERVER_URL="TEAMCITY_DOCKER-IP:8111"  \

-e AGENT_NAME="agent1" \

-v /opt/teamcity-agent1:/data/teamcity_agent/conf  \

-v /var/run/docker.sock:/var/run/docker.sock  \

jetbrains/teamcity-agent
You can use similar commands to start agent2 and agent3.
Step 10: Approving agents and you are done!
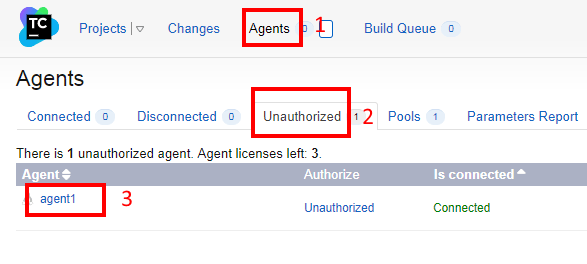
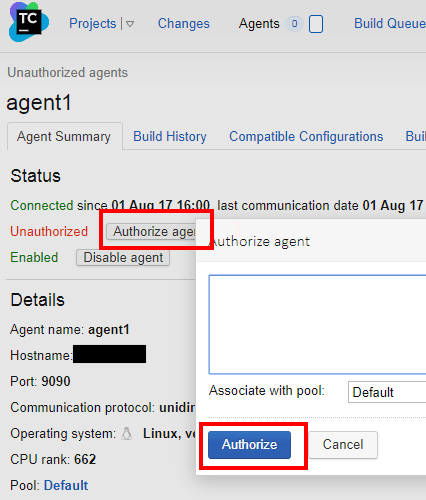
Go to Agents -> Unauthorized. Select agent1 and approve it as shown below:
And then
I hope you find this tutorial helpful in your journey to install the TeamCity 🙂